Geolocation feature of ActCAD Software - Part 2
24-Jan-2022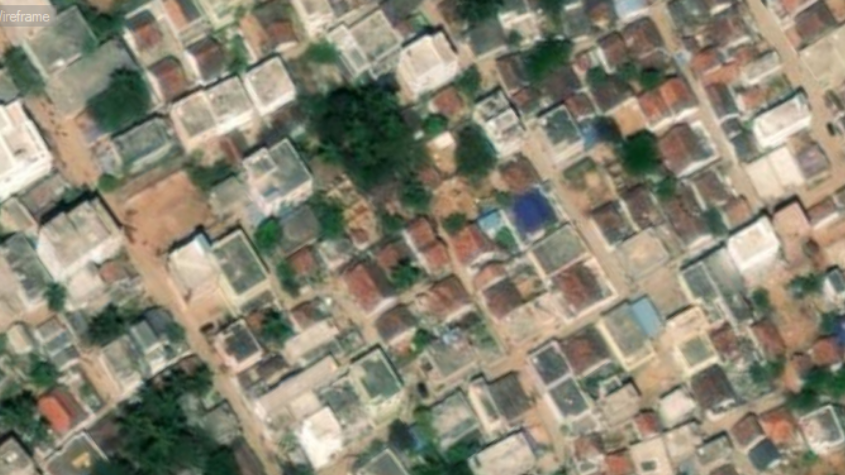
Geolocation:
Adding a geographic location to a drawing allows you to draw entities that corre¬spond to specific locations on a map, which can be especially helpful when working with drawings that contain survey, civil, and architectural data.
Work with Geolocation in ACTCAD:
Changing how a geographic location map displays
You can display online maps in these ways:
- Aerial — Displays aerial satellite imagery.
- Road — Displays the road view.
- Hybrid — Displays aerial satellite imagery overlaid with roads.
- Off — Hides the online map in the current viewport. The map display is turned off, but the map and its data remain in the drawing.
An Internet connection is required.
To change the display of a geographic location map
1 Do one of the following to choose Geographic Map ( ), which is available only if an online map was added using the Set Location command:
- On the ribbon, choose Geolocation > Map Aerial, Map Road, Map Hybrid, or Map Off (in Online Map).
- On the menu, choose Insert > Geolocation > Map Aerial, Map Road, Map Hybrid, or Map Off.
- Type geomap and then press Enter.
2 If you entered the command at the command prompt, choose the map display type, then press Enter.
Adding markers and annotations to a geographic location map
Position markers indicate and annotate a location on an online map. Each position marker has a point, leader, and multiline text.
To add a position marker to an online map
1 Do one of the following to choose Mark Position ( ), which is available only if an online map was added using the Set Location command:
- On the ribbon, choose Geolocation > Mark Position (in Tools).
- On the menu, choose Insert > Geolocation > Lat-Long, My Location, or Point.
- Type geomarkposition and then press Enter.
2 Choose one of the following, depending on how you want to define the position marker:
- Lat-Long — Places the position marker by specifying its latitude and longitude. Enter the latitude and longitude values at the prompts that display.
- My Location — Places the position marker at the point that corresponds to your current location. An Internet connection is required and location access must be turned on for your computer.
- Point — Places the position marker by specifying its location in the drawing. At the prompt that displays, select the location in the drawing.
3 To specify an annotation at the position marker location, press Enter, and type multiline text. Or to specify another location for the annotation, click the desired point in the drawing, then type multiline text.
4 When finished typing text, click Close Editor to accept your changes and close the text editor.
Working offline with images of geographic map areas
You can create a raster image, or map image, of a geographic map area. This is espe¬cially helpful when you need to work offline. Each map image can display with a type — aerial, road, or hybrid — and at a specific resolution.
An Internet connection is not required after a map image is created, but it is required while creating or updating it.
To create a map image
1 Do one of the following to choose Capture Area ( ), which is available only if an online map was added using the Set Location command:
- On the ribbon, choose Geolocation > Capture Area (in Online Map).
- On the menu, choose Insert > Geolocation > Capture Area.
- Type geomapimage and then press Enter.
2 Specify the first corner of the rectangle to define the map image, or choose Center to use the map's center point.
3 Specify the opposite corner of the rectangle to define the map image.
To change the display type of a map image
1 Select a map image.
2 Do one of the following to choose Map Image Type ():
- On the ribbon, choose Map Image > Map Aerial, Map Road, Map Hybrid (in Properties).
- Type geomapimagesetmaptype and then press Enter.
3 If you entered the command at the command prompt, choose the display type for the map image:
- Aerial — Displays aerial satellite imagery.
- Road — Displays the road view.
- Hybrid — Displays aerial satellite imagery overlaid with roads.
To change the resolution of a map image
1 Select a map image.
2 Do one of the following to choose Map Image Resolution ( ):
):
- On the ribbon, choose Map Image > Very Fine, Fine, Optimal, Coarse (in Properties).
- Type geomapimagesetresolution and then press Enter.
3 If you entered the command at the command prompt, choose the resolution.
To reload or reset a map image
1 Select a map image.
2 Do one of the following to choose Reload Image ( ):
):
- On the ribbon, choose Map Image > Reload Image (in Update).
- Type geomapimageupdate and then press Enter.
3 Choose one of the following:
- Optimize — Resets the map image to display with an optimal resolution for viewing.
- Reload — Updates the map image to include data from the latest online map.
About this blog
We frequently publish blog articles about ACTCAD software in terms of new features, improvements, releases, special offers, technical articles etc. Please subscribe to our newsletter to get regular updates.